Configuring Network Security Policies
Rawstream Network Security allows you to set network-wide access control for all the devices on the network.
You can allow or deny access by:
To update a policy, click Settings > Networks. From the drop down select the network you'd like to update.
Filtering Web Sites by Category
Rawstream Network Security supports 80 categories. A website may be categorised under more than one category.
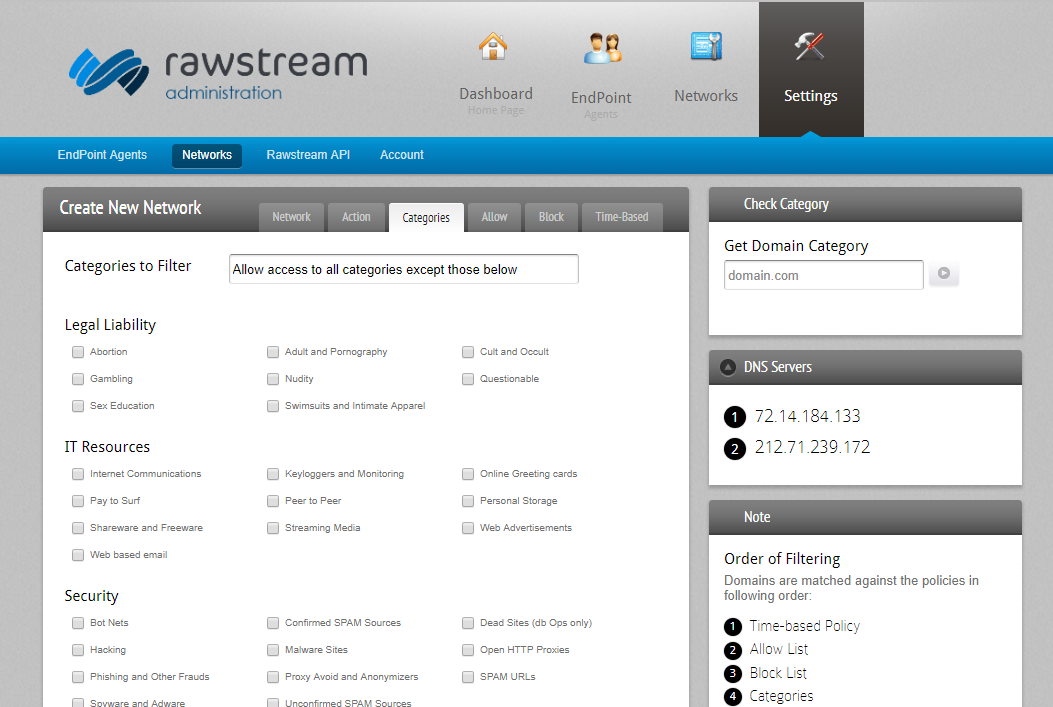
- Select the Categories tab
- From the Categories to Filter dropdown, choose whether the policy is to allow access to all categories except those selected, or else whether to block access to all categories except those selected.
- Select the categories that you want to include in the policy.
Setting the Allow and Block domain lists
Block or allow access to specific domains and sub-domains using the Allow and Block lists. There is no practical limit on the number of domains you can add. Wildcards are supported.
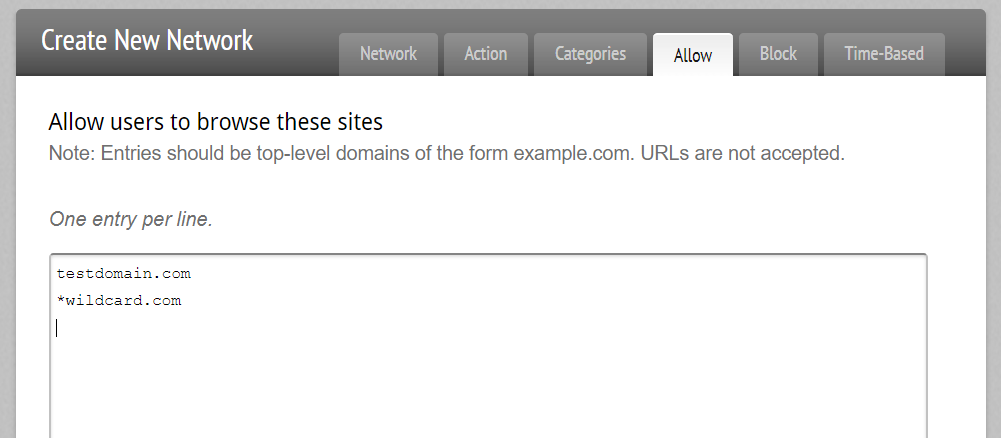
- Select the Allow tab
- Enter each bare domain (do not add "http/s" or trailing slash) one per line. The wildcard character * is supported.
- Select the Block tab
- Enter the domains, one per line, to block.
Time-Based Policy
You can allow or block access based on time. For instance, you can allow access to certain site categories outside office hours, or during lunch.
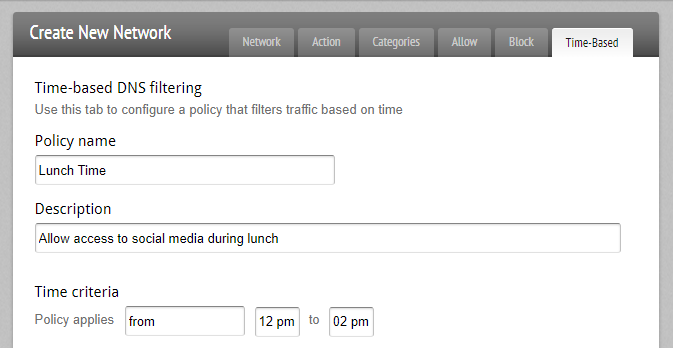
- Select the Time-Based tab. This tab allows you to configure access based on time, for instance, allowing access to Social Media during lunch time. Time-based access is evaluated first.
- Name the policy, and set a description.
- Choose the time period that the policy applies to from the drop down. You can choose to have the policy apply from a set time to another, or have the policy outside of the set hours. Finally, you can have the policy all the time.
- Enter the domains, one per line.
- Select the categories that you want to include in the policy. A website may be categorised under more than one category.
- Choose whether the policy is to Allow access, Block access, or Monitor.