Setting up a new Dynamic IP Network
This guide will help you setup DNS filtering for networks with a dynamic public IP.
For networks with a static IP follow this guide.
The key step when creating a dynamic IP network in Rawstream is configuring the method used to update Rawstream whenever the IP changes. Rawstream supports three different methods to update the IP. The remaining steps are identical to setting up a static network
Rawstream drops DNS requests from unknown IPs.
Choosing the Update Method
Networks with dynamic IPs have additional requirements as their public IP changes regularly. Rawstream needs to be updated with the new IP every time it changes for filtering to work.
There are three options to update Rawstream as a network's public IP changes: 1. Rawstream Dynamic IP Client 2. Free53 - a free Dynamic DNS service 3. Third-party Dynamic DNS clients
You only need to install a single instance of the chosen client on a network, typically a virtual machine, or a WiFi access point if the third-party software is allowed. The client needs to be running 24x7.
Rawstream Dynamic IP client
The Dynamic IP client is a dynamic IP updater for Windows. It runs in the background as a Windows service.
Download the client https://app.rawstream.com/dyndns/RawstreamDynamicIP.msi and install it. The client has a dependency on .Net 3.5 framework. You need to enable .Net 3.5 on recent versions of Windows.
- Click Settings > Networks > Add New Network
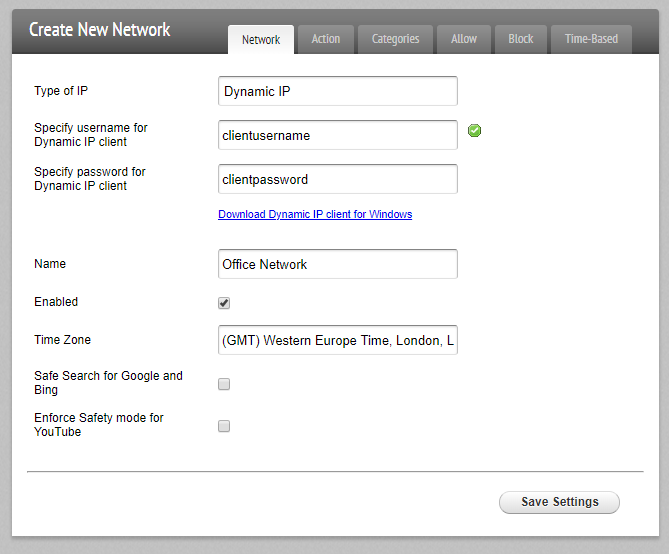
- Set the Type of IP to Dynamic IP
- Enter a unique username and password. These will be needed when setting up the Dynamic IP client.
- Continue with setting up the network
- Install the Dynamic IP client.
- Navigate to the Dynamic IP client settings: http://localhost:8089/
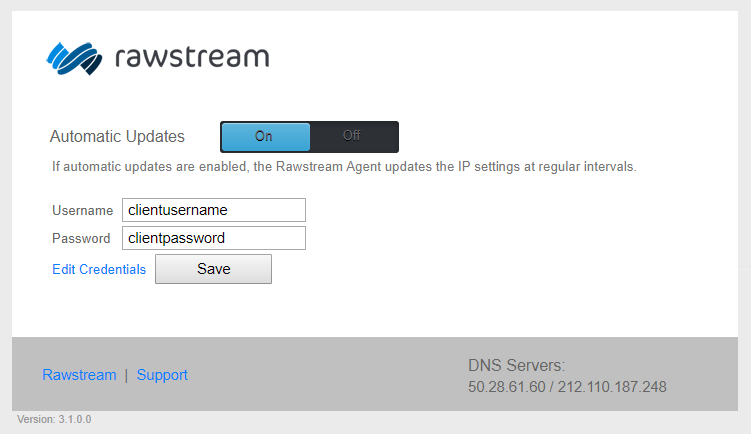
- Enter the username and password from step 3.
Free53 - Dynamic DNS service
Free53 is a Dynamic DNS service, free to Rawstream customers.
Free53 has clients for Windows, Mac, Linux, a python client, as well as the curl and wget command-line utilities.
- Click Settings > Networks > Add New Network
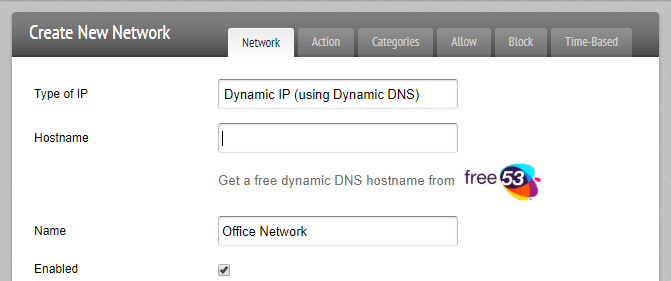
- Set the Type of IP to Dynamic IP (using Dynamic DNS)
- Click on the Free53 logo. This will take you to the Free53 page. You may be required to log in. Use your existing Rawstream credentials.
- Pick a unique hostname.
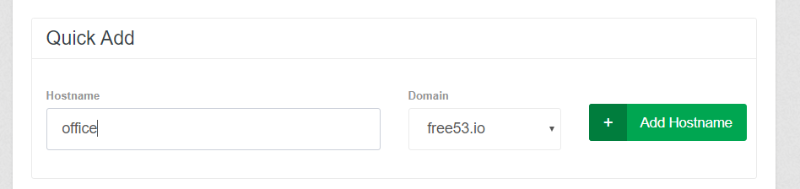
- Enter the hostname in the Rawstream dashboard.
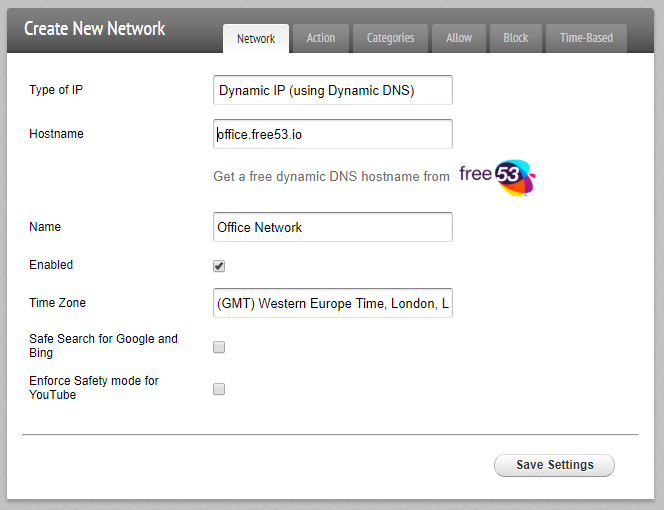
- Continue with setting up the network
Third Party Dynamic DNS providers
There are a number of third-party Dynamic DNS providers such as no-ip. Some may require payment. The setup procedure is similar to setting up Free53; enter the hostname registered with the third-party Dynamic DNS service in the hostame field.